These rules are not meant to be a detailed guide on how to paint, but rather a guide to the basics of what you should and shouldn’t be doing. It is totally subjective and a work-in-progress.
1) Prepare your miniature! What good is the world’s best paint job when the miniature is covered in mould lines? Whether made out of metal, resin or plastic, all miniatures will have signs of the casting process on them. Spend some time scraping or cutting away these unwanted lines with small files and sharp knives – otherwise you will regret it later! In extreme cases, you might also benefit from using a little greenstuff. I’ll write about that in a separate post. Also – undercoat your miniature. Whether black, grey, white or brown, a proper undercoat will give your paints something to adhere to and prevent chipping.
2) Get a good brush. Don’t skimp on brushes! One good size 1 or 2 brush is better than a whole selection of cheaper brushes. You don’t need tiny brushes – 0/5 or so. A size 1 Windsor Newton Series 7 (or other similar quality brush) will give you a point that is just as small. Crucially, it will also hold a larger reservoir of water in their bristles – this makes it less likely to dry out on it’s way from the palette to the mini. A simple trick for keeping the brush moist but not soaking wet is to have some kitchen paper to dab brushes on and make a part already slightly damp – touch your wet brush to this damp area rather than a dry piece of the kitchen paper. This way the water won’t be completely soaked up by the paper towel, giving you that needed moisture resevoir.
3) Aziz, light! You can’t have enough light when painting. And it should be daylight. Either proper daylight or a daylight lamp. Both combined is best. You might be a young, sprightly thing, able still to see all the little details without any artificial help and still wondering who Aziz is… but trust me – with proper light you will see even more and will not be straining your eyes as much. And why daylight? Because daylight / daylight bulbs will show you the colours properly. Normal light bulbs make everything look yellowish. If you don’t believe me, turn on a daylight bulb in the evening and notice how blue the light is!
4) Magnify! Even with plenty of light – you might find that your eyes just aren’t up to the small details. A headband magnifier is a game changer! You’ll even find yourself starting to paint light reflections in the pupils of your miniatures.
5) Dilute your paint. If you paint with the paint straight from the pot, you’ll get a lumpy unpleasant surface. Dilute your paint. Water is fine – although you can use drying retardants too (for example from Vallejo or Scale75).
6) Use a wet palette. If you are thinning your paint with water, you might as well check into ‘hotel pro’ and use a wet palette, which is basically a sheet of baking paper laid over a wet sponge or a couple of layers of wet kitchen towel. Acrylic paint mixed on this layer of baking paper won’t dry! Check out youtube for lots of examples of how to make your own.
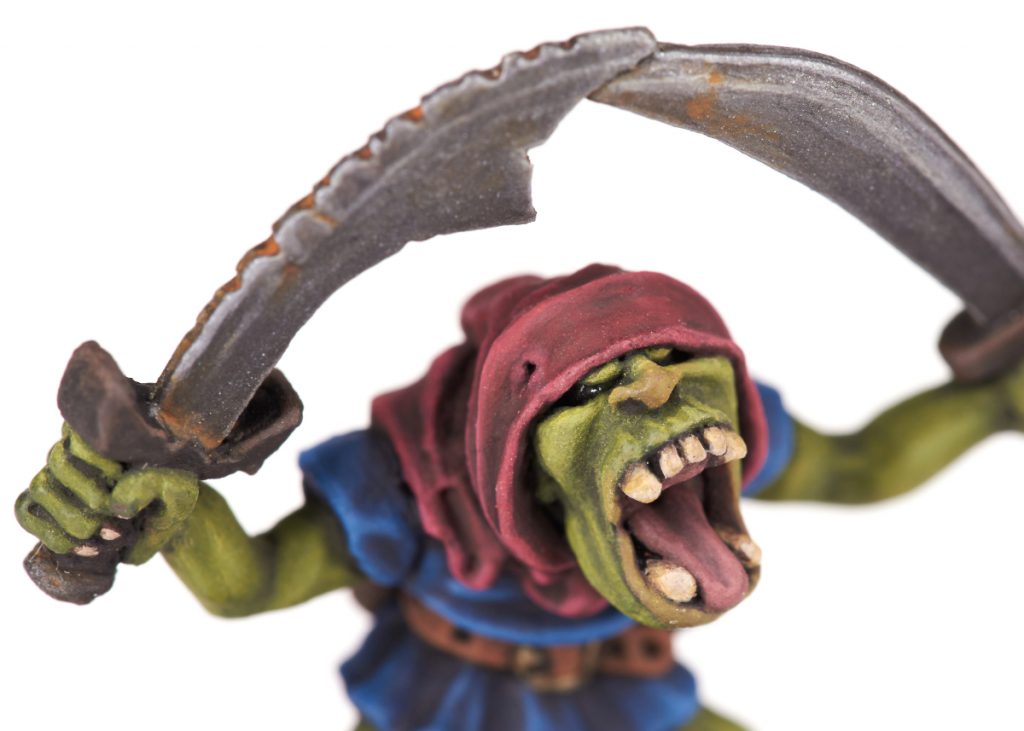
7) Paint cleanly. Learn to walk before you start trying advanced techniques. Make sure that every part of the miniature is painted cleanly without overlap – so no flesh colours straying onto clothing.
8) If in doubt… paint it brown! You know those little details on miniatures that just baffle you. You have pondered, screamed, asked friends and family, asked online… nobody know what that thing is meant to be in between your miniature’s left arm and bag of scrolls… paint it dark brown. Done.
9) AVOID spray on varnishes! Sadly too often have I rolled snakes eyes when it comes to varnishing miniatures. Maybe the air humidity was wrong? The temperature? Maybe I looked at the can the wrong way? Who knows. But it is not a nice feeling to see your carefully painted miniatures get a powdery white coating – or for matt varnish to go on incredibly shiny. As an alternative I have discovered an airbrush or brush-on varnish (I like matt varnishes) from Ammo Mig – Lucky Varnish or Ak Interactive (these seem to be the same product as far as I can tell).
10) Keep your base rims clean. Too often have I seen amazingly painted miniatures with lovingly detailed bases… but the rims of the bases are lumpy. You can see where paint or glue from the basing process dribbled down the sides. Sure they were painted black or brown afterwards…. but the effect is still lumpy. Lightly sand off such unsightly dribbles and marks – then paint the rims of your bases.